USING BURLAP TO PROTECT PLANTS FROM WILDLIFE
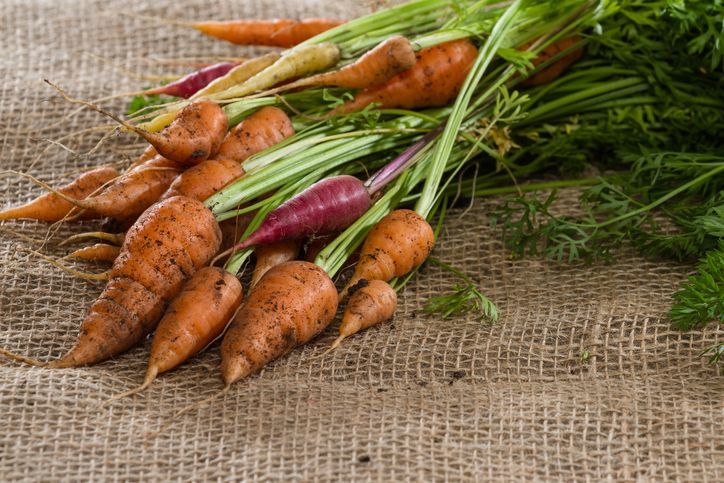
Gardening is often a disciplined process which requires both hard work and patience before you can see the fruits of your labor. That being said, it can be especially discouraging when an animal decides to turn your hard work into a meal. Rabbits, deer, and groundhogs can be the biggest offenders, but dogs and squirrels have also been known to get into fruits and vegetables as well as leaves and seeds. Regardless of what is nibbling on your plants, you can use burlap to fashion a netting that can protect your garden from hungry wildlife. Burlap is not only an inexpensive and effective material for the job, but it is also green and decomposable.
A good way to go about this is to first create a rectangular frame of 2 by 2 wooden boards around your garden. Make sure to give your plants enough space to grow. Optimally, you don’t want your plants to touch the burlap walls. Research how big your plants might get to determine how best to pad out the distance.
Once the border is in place, construct wooden posts at the corner positions by attaching them to the outside of the base border. The posts should reach at least 2 feet high for smaller critters but should be around 5-7 feet to protect from larger animals like deer and larger dogs. Surprisingly, deer can jump a whopping 8 feet into the air. However, they often won’t if they’re unsure if they’ll make the leap. If you do pick an option that is too high to step over and the gardening space is big enough to walk in, it is recommended to put in a 5th post to act as a supporting beam for a makeshift door. The post should be about 24-34 inches away from one of the corner posts for optimal mobility.
Once the posts are in place, you can now take a roll of burlap and wrap it around the outside of the four posts while stapling the mesh into place. Make sure the burlap is tight against the posts before stapling. Once you’ve covered the entirety of the sides from top to bottom, staple the base so that nothing can get underneath.
If you’re making a door using a 5th post, make sure not to staple the door section to the base. You’ll want the burlap mesh to hang like a flap. One side of the door should be attached while the other side hangs free. From here, you can hammer nails into the post that isn’t yet attached to the door. These will act as hooks to keep the burlap in place when you want the door closed. You can create holes in the burlap by making small slits with a knife and tearing it just enough for the nails to hook through. A hole and nail at the top and bottom of the post should be enough, but feel free to add more.
And there you have it: a fully functional, protective wall against rodents and other animals. Pollinators, sun shine, and rain can easily get in, while ground level animals will be deterred. The process is effective, easy, reusable, and affordable. Most importantly though, you can spend more time enjoying a beautiful garden and less time worrying about animals uprooting your efforts